Red Velvet Marble Waffles Recipe
If you’re looking to turn an ordinary breakfast into something extraordinary, you’re in for a treat with Red Velvet Marble Waffles. These gorgeous waffles combine the classic, buttery comfort of traditional waffles with the decadent chocolatey allure of red velvet, all beautifully swirled into each golden square. Whether you’re planning a holiday brunch or just want to delight your loved ones with a playful twist, this recipe makes every morning feel like a special occasion. Each bite brings together a hint of cocoa, a pop of vibrant color, and that irresistible homemade waffle flavor we all crave!
Ingredients You’ll Need
Gathering everything you need for Red Velvet Marble Waffles couldn’t be simpler—each ingredient was carefully chosen to build flavor, texture, and that dreamy marbled look. Get ready to appreciate how each pantry staple has its own important role in these show-stopping waffles!
- All-purpose flour (for both batters): Provides a sturdy base for perfectly fluffy waffles.
- Sugar: Adds just the right touch of sweetness to balance the cocoa and tang of buttermilk.
- Baking powder: Ensures a light, airy waffle with a beautiful rise that holds that marbled pattern.
- Baking soda: Works with buttermilk to create tenderness and a slight crispness on the outside.
- Salt: Enhances every other flavor—never skip it for truly balanced waffles!
- Buttermilk: The secret to tangy richness and moist, tender crumb in every bite.
- Eggs: Bind the batters together and help make each waffle golden and tall.
- Melted butter: For buttery goodness and subtle richness throughout the waffles.
- Vanilla extract: Adds a touch of warmth and aromatic bakery flavor.
- Cocoa powder (for the red velvet batter): Infuses fudge-like depth and that classic red velvet charm.
- Red food coloring: Provides that iconic, eye-catching red swirl—use gel coloring for the most vivid hue.
How to Make Red Velvet Marble Waffles
Step 1: Mix Up the Classic Waffle Batter
Start by whisking all your dry ingredients—flour, sugar, baking powder, baking soda, and salt—together in a roomy bowl. In a separate bowl, combine the buttermilk, eggs, melted butter, and vanilla extract. Pour the wet ingredients into the dry and whisk gently until just combined. You want to avoid overmixing, so a few small lumps are perfectly fine!
Step 2: Prepare the Red Velvet Batter
Now, in a new mixing bowl, blend together the flour, cocoa powder, sugar, baking powder, baking soda, and salt. In another bowl, whisk the buttermilk, egg, melted butter, vanilla, and that bold tablespoon of red food coloring. Pour the vibrant wet ingredients into the dry, stirring until everything’s just incorporated. This batter will already look irresistible!
Step 3: Preheat Your Waffle Iron
Turn on your waffle iron and let it preheat fully, following the manufacturer’s instructions. A fully hot iron guarantees crispy outsides and fluffy insides—just what you want in Red Velvet Marble Waffles.
Step 4: Create the Marbled Swirl
Lightly grease your waffle iron to prevent sticking. Now comes the fun part: pour a scoop of classic waffle batter onto the iron, followed by a scoop of red velvet batter. Using a toothpick or the tip of a knife, gently swirl the batters together to create a marbled effect. Don’t blend too much—you want distinct swirls, not a uniform color.
Step 5: Cook to Golden Perfection
Close your waffle iron and let the magic happen! Each waffle should bake up golden brown, with irresistible patches of chocolate red velvet peeking through. Follow your waffle iron’s directions for timing, and repeat with remaining batter.
Step 6: Serve and Enjoy
Carefully lift out your beautiful Red Velvet Marble Waffles, stack them high, and prepare for the grand finale—toppings! They’re best enjoyed warm, while the colors and aroma are at their brightest.
How to Serve Red Velvet Marble Waffles
Garnishes
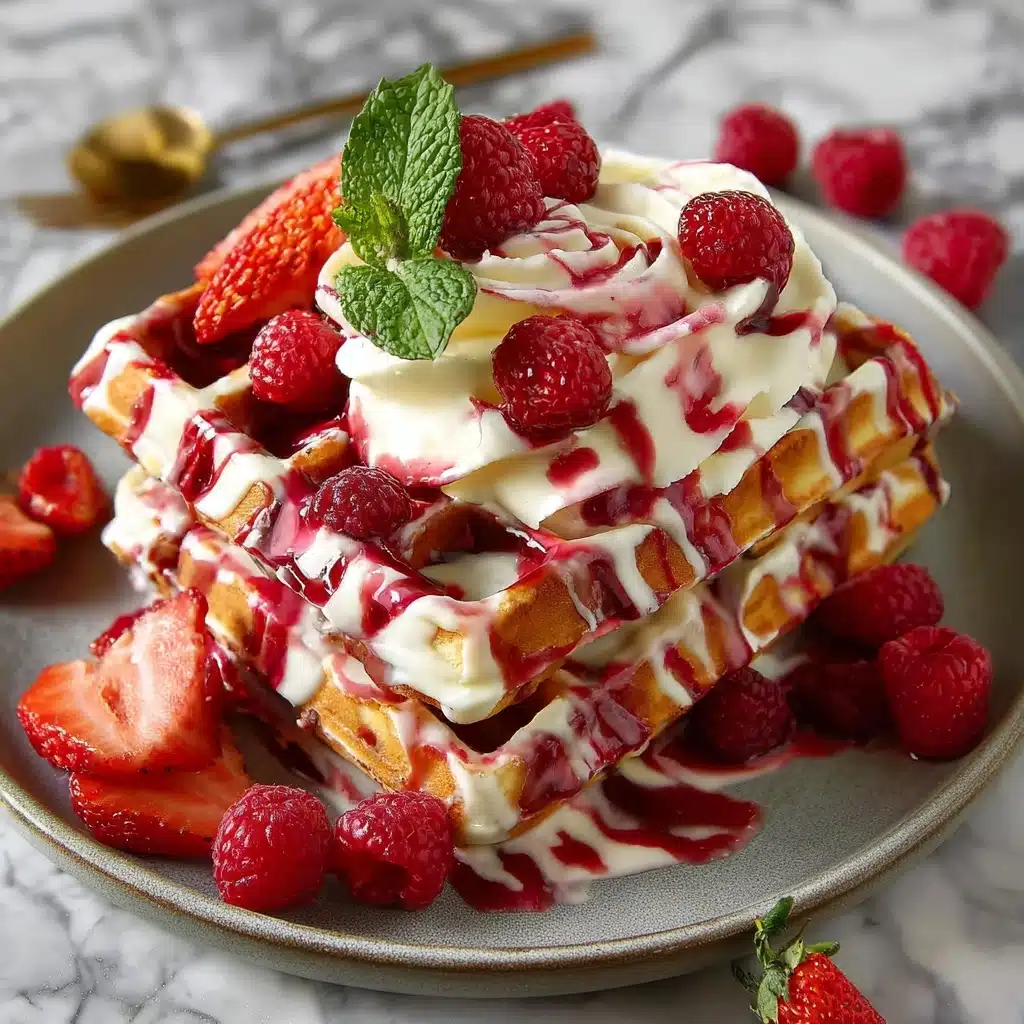
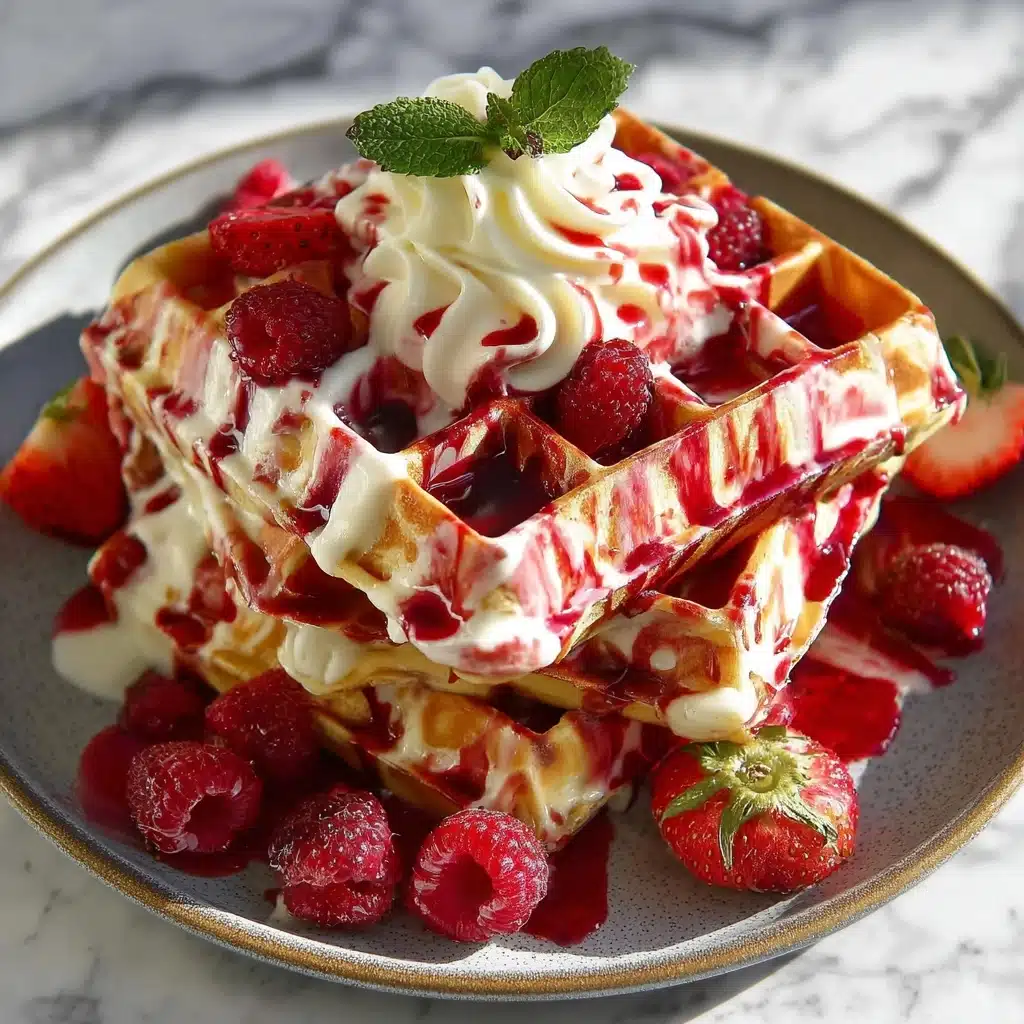
The finishing touches make a world of difference! Dust your waffles lightly with powdered sugar or add a generous dollop of whipped cream right in the center. Fresh berries or sliced strawberries accent the chocolate notes, while a drizzle of maple syrup or even a touch of chocolate sauce can turn every plate into a brunch masterpiece.
Side Dishes
Pair these Red Velvet Marble Waffles with crispy bacon, sausage links, or a platter of fresh fruit for a well-balanced breakfast. A creamy vanilla latte or hot chocolate rounds out the decadence, but honestly, even a simple cup of black coffee is the perfect match to these sweet, swirled waffles.
Creative Ways to Present
When you’re feeling extra-festive, cut the waffles into heart shapes for Valentine’s Day or stack mini waffles and skewer them with fruit for a fun brunch platter. You can even turn leftovers into decadent waffle ice cream sandwiches for dessert—one more reason to make an extra batch!
Make Ahead and Storage
Storing Leftovers
If you have extra Red Velvet Marble Waffles, let them cool completely before stacking them with parchment paper in between. Store in an airtight container or zip-top bag in the fridge; they’ll stay fresh and delicious for up to three days.
Freezing
Want to save some for later? Wrap each waffle individually in plastic wrap or foil, then place them in a freezer-safe bag or container. Frozen waffles hold up beautifully, keeping their marbled pattern and tender crumb for up to two months.
Reheating
The best way to reheat Red Velvet Marble Waffles is in a toaster or toaster oven so they’re crisp on the outside and fluffy inside. You can also use an oven preheated to 350°F for a few minutes. Avoid the microwave if you want to keep that irresistible exterior crunch!
FAQs
Can I make these waffles without a waffle iron?
If you don’t have a waffle iron, you can try cooking the marbled batter as pancakes on a hot griddle. You won’t get the same signature crisp bites but the flavor and swirled appearance will still shine through!
What kind of red food coloring works best?
Gel food coloring is your best bet if you want that bold, dramatic red for your Red Velvet Marble Waffles. It packs a lot of color without thinning your batter.
Can I prepare the batters the night before?
Yes, you can mix the dry and wet ingredients for each batter separately and store them in the fridge overnight. Combine just before cooking for the freshest, fluffiest waffles.
How can I make them gluten-free?
Simply substitute your favorite 1-to-1 gluten-free flour blend for the all-purpose flour in both batters. The waffles will be just as beautiful and delicious!
Do I have to use cocoa powder in the red velvet batter?
Cocoa powder is essential for that signature red velvet flavor, but if someone in your household is sensitive or not a fan, you can reduce it by half—or swap in dark chocolate powder for a deeper color and richer taste.
Final Thoughts
Red Velvet Marble Waffles are truly a joy to make and even more delightful to share. With their stunning swirls and classic flavors, they’re sure to become a favorite for any special breakfast or brunch. Give this recipe a try—you’ll be amazed at just how fun and satisfying homemade waffles can be!
PrintRed Velvet Marble Waffles Recipe

These Red Velvet Marble Waffles are a delightful twist on classic waffles, combining the flavors of red velvet cake with traditional waffles for a visually stunning and delicious breakfast treat.
- Prep Time: 15 minutes
- Cook Time: 20 minutes
- Total Time: 35 minutes
- Yield: 4 servings 1x
- Category: Breakfast, Brunch
- Method: Waffle Iron
- Cuisine: American
- Diet: Vegetarian
Ingredients
For the Classic Waffle Batter:
- 1 1/2 cups all-purpose flour
- 1 tablespoon sugar
- 1 teaspoon baking powder
- 1/2 teaspoon baking soda
- 1/4 teaspoon salt
- 1 cup buttermilk
- 2 large eggs
- 1/4 cup melted butter
- 1 teaspoon vanilla extract
For the Red Velvet Batter:
- 1 cup all-purpose flour
- 2 tablespoons cocoa powder
- 1/4 cup sugar
- 1 teaspoon baking powder
- 1/2 teaspoon baking soda
- 1/4 teaspoon salt
- 3/4 cup buttermilk
- 1 large egg
- 1/4 cup melted butter
- 1 teaspoon vanilla extract
- 1 tablespoon red food coloring
Instructions
- Prepare the Classic Waffle Batter: In a mixing bowl, whisk together the flour, sugar, baking powder, baking soda, and salt. In another bowl, whisk together the buttermilk, eggs, melted butter, and vanilla extract. Pour the wet ingredients into the dry ingredients and mix until just combined. Do not overmix.
- Prepare the Red Velvet Batter: In a separate mixing bowl, whisk together the flour, cocoa powder, sugar, baking powder, baking soda, and salt. In another bowl, whisk together the buttermilk, egg, melted butter, vanilla extract, and red food coloring. Pour the wet ingredients into the dry ingredients and mix until just combined. Do not overmix.
- Preheat the Waffle Iron: Preheat your waffle iron according to the manufacturer’s instructions.
- Create the Marbled Effect: Lightly grease the waffle iron. Pour a small amount of classic waffle batter onto the waffle iron, followed by a small amount of red velvet batter. Use a toothpick or a knife to gently swirl the batters together to create a marbled effect.
- Cook the Waffles: Close the waffle iron and cook according to the manufacturer’s instructions until the waffles are golden brown and cooked through.
- Serve: Serve the waffles warm with your favorite toppings such as whipped cream, fresh berries, or maple syrup.
Nutrition
- Serving Size: 1 waffle
- Calories: 280
- Sugar: 9g
- Sodium: 380mg
- Fat: 12g
- Saturated Fat: 7g
- Unsaturated Fat: 4g
- Trans Fat: 0g
- Carbohydrates: 35g
- Fiber: 1g
- Protein: 7g
- Cholesterol: 90mg
Keywords: Red Velvet Waffles, Marble Waffles, Breakfast, Waffle Recipe

