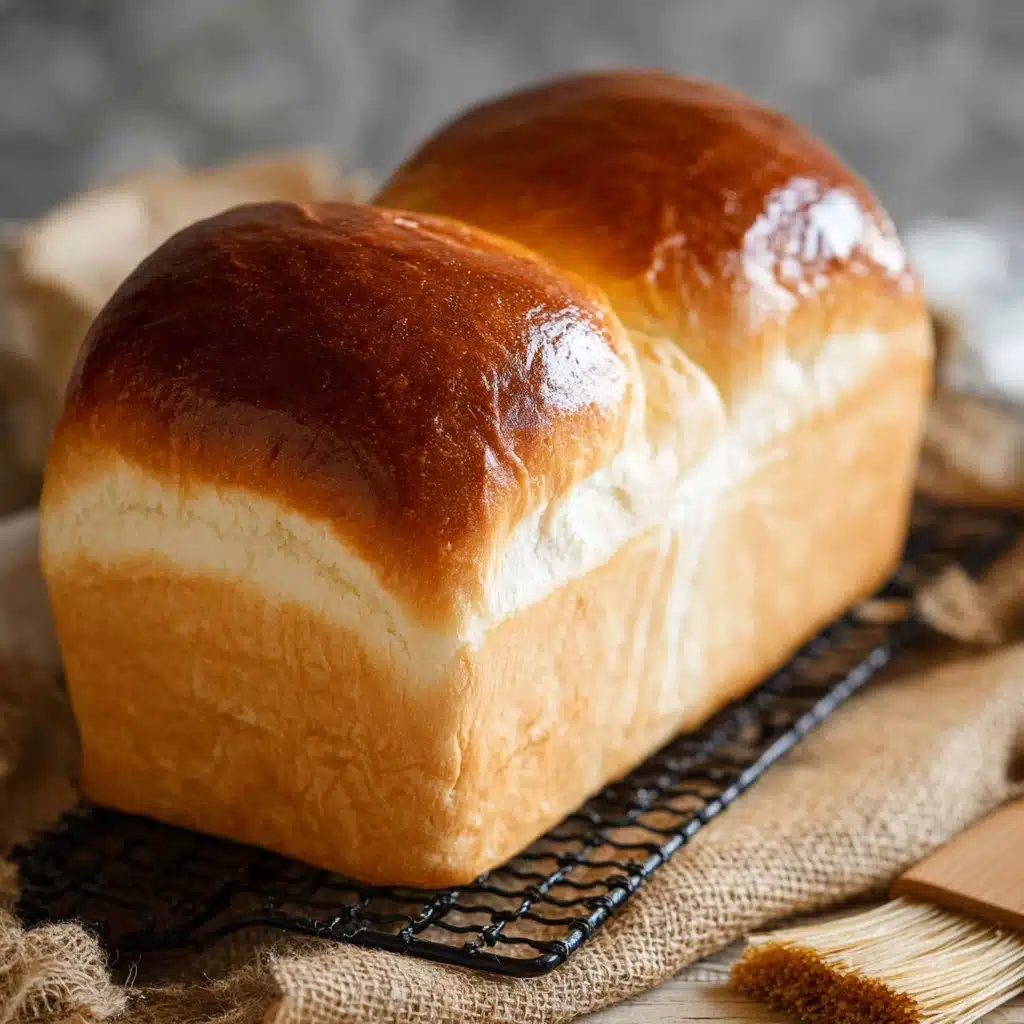
Shokupan (Japanese Milk Bread Loaf) Recipe
If you’re on a quest for perfect homemade bread, look no further than Shokupan (Japanese Milk Bread Loaf). This incredibly soft and fluffy loaf has gained a loyal following for its feathery crumb and sweet, milky flavor. Unlike your typical sandwich bread, Shokupan takes texture to new heights, thanks to a special yudane (water roux) technique that makes each slice practically melt in your mouth. Whether enjoyed plain, toasted, or as the foundation for dreamy sandwiches, Shokupan (Japanese Milk Bread Loaf) truly elevates every bite to something magical.
Ingredients You’ll Need
You won’t need a massive pantry to make Shokupan — just a handful of well-chosen ingredients, each with a starring role in the bread’s signature taste and texture. Here’s what goes into building both the pillowy structure and sweet depth we all crave in a Shokupan (Japanese Milk Bread Loaf):
- Bread flour: High-protein bread flour ensures a chewy but soft crumb, crucial for holding those signature airy layers.
- Boiling water: Used in the yudane method, it gelatinizes the starches in flour so the loaf bakes up extra fluffy and moist.
- Milk (room temperature): Adds rich flavor and encourages that irresistible creamy-white color Shokupan is famous for.
- Sugar: A touch of sweetness brings out the milky notes and boosts yeast activity.
- Dry instant yeast: The powerhouse behind that ultra-rise and cloud-like texture, working efficiently and predictably.
- Unsalted butter: For tenderizing the crumb and lending a subtle buttery aroma to your finished loaf.
- Salt: Balances out the sweetness while enhancing all the bread’s subtle flavors.
How to Make Shokupan (Japanese Milk Bread Loaf)
Step 1: Prepare the Yudane
The secret to every perfect Shokupan (Japanese Milk Bread Loaf) starts with the yudane. The night before you plan to bake, simply combine the bread flour and piping hot boiling water. Mix until you get a sticky paste, cover it with cling wrap, and let it rest in the refrigerator overnight. This step is what sets the loaf apart, creating the mochi-like softness that Shokupan fans adore.
Step 2: Mix the Dough
On baking day, bring all ingredients to room temperature for reliable results and measure carefully. Pour the milk into your stand mixer’s bowl. Add the sugar, butter, and yeast, then tear the yudane you made into small pieces and drop that in. Top with bread flour and salt — adding salt last means your yeast stays happy. Attach your dough hook and let everything mix at low speed until just combined.
Step 3: Knead the Dough
Once combined, increase your mixer speed to medium-high (about 5 or 6 on most mixers) and knead for around 20 minutes. The dough should look incredibly smooth, stretchy, and barely sticky — an indication the gluten has developed beautifully. This is vital for Shokupan’s signature height and fine crumb.
Step 4: First Rise
Shape the dough into a ball and nestle it into a lightly greased bowl. Cover with cling wrap, and let it rise somewhere cozy and warm (about 86°F or 30°C) for 45 minutes to an hour. It’s ready when doubled in size. Don’t skip the poke test: a floured finger should leave a dent that doesn’t spring back, telling you the dough is perfectly proofed.
Step 5: Divide and Bench Rest
Punch down the puffy dough to deflate any big bubbles, then split it into two equal parts. Roll each into a neat ball, cover with a damp cloth, and let them rest for about 20 minutes. This “bench time” lets gluten relax, making the next step even easier.
Step 6: Shape the Loaf
Roll each portion out into a rectangle (about 5.9 x 7.8 inches). Fold the sides tightly towards the center to keep out air, then turn the dough 90 degrees and roll it up from one end. This gentle shaping technique gives Shokupan (Japanese Milk Bread Loaf) its signature domed top and uniform crumb.
Step 7: Second Rise
Lightly spray your bread tin and snuggle the dough rolls inside, ends toward the center. Cover again with a damp cloth and let it rise for another 30 minutes — you’ll know it’s ready when the dough rises to the top of the tin.
Step 8: Bake
Near the end of the final rise, preheat your oven to 365°F (185°C). If you’d like a golden, shiny crust, whisk an egg and gently brush the top of the loaf. Bake in the center of the oven for 25 to 30 minutes until your bread is beautifully golden and sounds hollow when tapped.
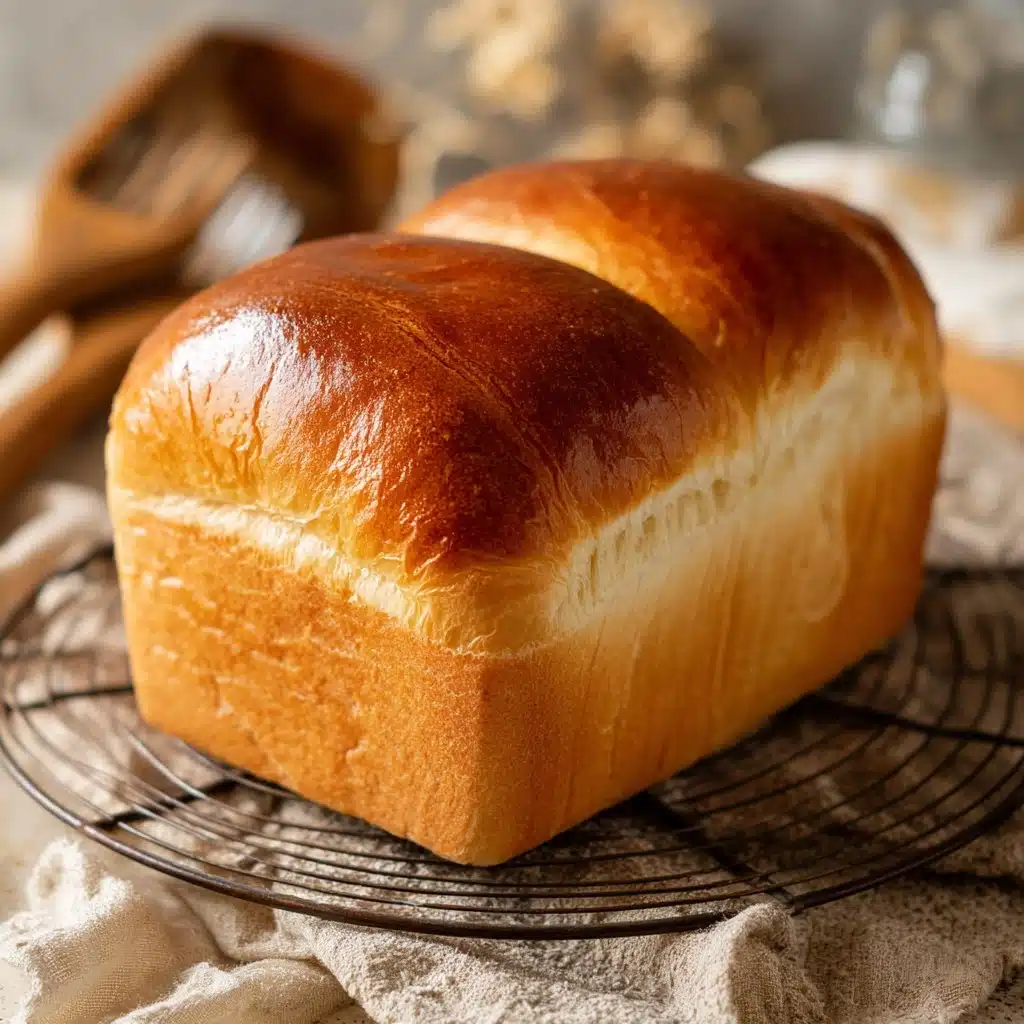
Step 9: Cool and Enjoy
Once done, carefully remove your Shokupan (Japanese Milk Bread Loaf) from the tin and let it cool on a rack. Resist the urge to slice in right away — cooling allows the crumb to set, rewarding you with picture-perfect slices every time!
How to Serve Shokupan (Japanese Milk Bread Loaf)
Garnishes
One of the joys of Shokupan is its canvas-like simplicity. Add a delicate brush of melted butter right after baking for a subtle gloss and extra aroma. Or, for an authentic bakery finish, sprinkle a pinch of flaky sea salt on top, which highlights the sweet, creamy notes already present in every slice.
Side Dishes
Shokupan (Japanese Milk Bread Loaf) shines next to almost anything. Serve it warm with a light soup, alongside a crisp salad, or pair it with softly scrambled eggs for a quintessential Japanese breakfast. Its gentle flavor makes it a crowd-pleaser that suits sweet, savory, and fusion side dishes alike.
Creative Ways to Present
Craving something outside the classic loaf? Slice your Shokupan thick and turn it into airy French toast, cube it for sweet bread pudding, or layer it up for pillowy sandwiches. Even a basic toast with a swipe of creamy butter and jam feels elevated with this dreamy milk bread as the base!
Make Ahead and Storage
Storing Leftovers
To keep your Shokupan (Japanese Milk Bread Loaf) ultra-fresh, cool it completely then store in a sealed bag or airtight container at room temperature for up to three days. It stays soft and flavorful, perfect for quick breakfasts or spontaneous sandwiches.
Freezing
If you want to savor your loaf over time, slice it first for easy, single-serve portions. Wrap well in plastic wrap then tuck into a freezer bag. Shokupan freezes beautifully for up to a month, preserving all that pillowy texture for whenever cravings strike.
Reheating
Defrost frozen slices on the counter. To revive that just-baked softness, warm your Shokupan (Japanese Milk Bread Loaf) briefly in the microwave under a damp paper towel, or pop slices in a toaster for a bit of crispy edge with that classic fluffy middle.
FAQs
Can I use all-purpose flour instead of bread flour?
You can, but the bread flour’s higher protein content is what gives Shokupan (Japanese Milk Bread Loaf) its signature stretch and fluff. If you must switch, expect a slightly softer and less structured loaf.
What’s the purpose of the yudane method?
The yudane (water roux) technique pre-gelatinizes the starches in the flour. This helps the bread retain more moisture so your Shokupan stays unbelievably soft — even the next day.
How do I know when my dough has risen enough?
Look for the classic “poke test”: Press a floured finger into the dough. If the indentation stays and doesn’t bounce back right away, you’re good to go for the next step!
My loaf isn’t as soft as I hoped. What happened?
Possible culprits are under-kneading, over-baking, or accidentally skipping the yudane rest. Following the steps carefully is key for getting that delicate, cloud-like crumb in every Shokupan (Japanese Milk Bread Loaf) you bake.
Can I double the recipe?
Absolutely! Shokupan (Japanese Milk Bread Loaf) recipes scale up well; just be sure your mixer can handle the extra dough and use two bread tins for even baking.
Final Thoughts
Whether you’re new to baking or just looking to add something truly special to your repertoire, give Shokupan (Japanese Milk Bread Loaf) a try. Each loaf is a labor of love that rewards you with a taste and texture you won’t soon forget. There’s nothing quite like pulling a fresh, warm loaf from your oven and sharing impossibly soft slices with family or friends — and before you know it, you’ll be making Shokupan on repeat!
PrintShokupan (Japanese Milk Bread Loaf) Recipe

Learn how to make Shokupan, a delicious Japanese milk bread loaf that is soft and fluffy. This recipe yields a perfectly tender bread that is great for sandwiches or enjoyed on its own.
- Prep Time: 12 hours
- Cook Time: 30 minutes
- Total Time: 13 hours
- Yield: 1 loaf 1x
- Category: Bread
- Method: Baking
- Cuisine: Japanese
- Diet: Vegetarian
Ingredients
Yudane
- 50 g Bread flour
- 40 ml boiling water above 194°F(90°C)
Bread
- 150 ml milk (room temperature)
- 15 g sugar
- 3 g dry instant yeast
- 10 g unsalted butter (room temperature)
- 200 g Bread flour
- 5 g salt
Instructions
- Make Yudane: Place bread flour in a bowl, add boiling water, mix well, cover, and refrigerate overnight.
- Prepare Bread Dough: Combine milk, sugar, butter, yeast, yudane, flour, and salt in a mixer bowl. Knead on low for 20 min.
- Rise Dough: Shape dough, let it rise until doubled in size.
- Form Loaf: Shape dough, place in a loaf tin, let rise again.
- Bake: Preheat oven, bake at 365°F (185°C) for 25-30 min. Cool on a rack.
Nutrition
- Serving Size: 1 slice
- Calories: 150
- Sugar: 5g
- Sodium: 200mg
- Fat: 4g
- Saturated Fat: 2g
- Unsaturated Fat: 2g
- Trans Fat: 0g
- Carbohydrates: 25g
- Fiber: 1g
- Protein: 4g
- Cholesterol: 10mg
Keywords: Japanese Milk Bread, Shokupan, Bread Loaf Recipe, Soft and Fluffy Bread


