Homemade Fruit Popsicles Recipe
Introduction
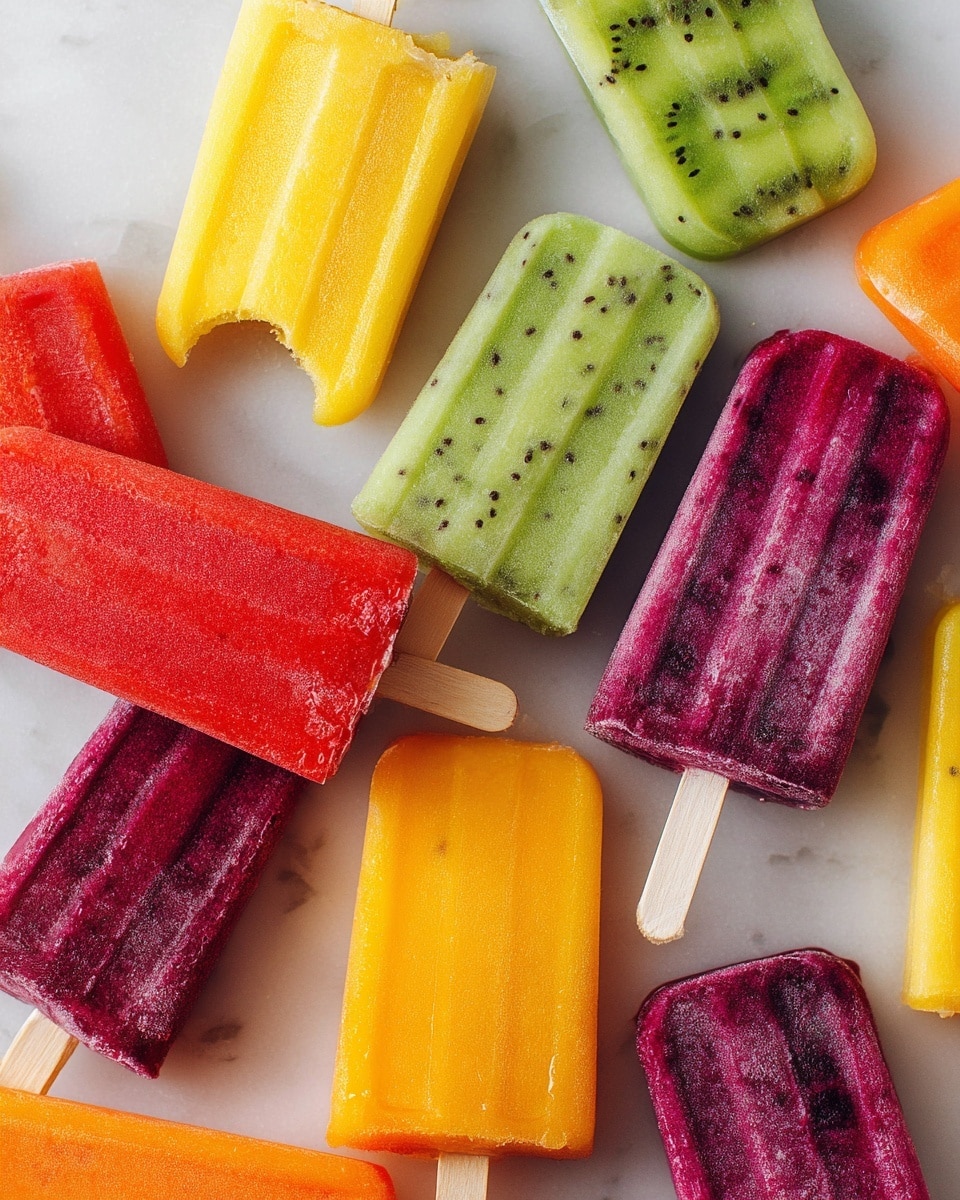
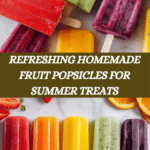
Homemade popsicles are a refreshing and healthy treat, perfect for warm days or any time you crave a fruity snack. Using fresh fruit and natural sweeteners, you can create delicious frozen treats tailored to your taste.
Ingredients
- 2 cups chopped strawberries
- 1 cup coconut water
- 2 Tbsp honey
- 1 cup chopped orange flesh
- 1 cup chopped carrots
- 1 cup orange juice
- 2 Tbsp honey
- 1 cup chopped pineapple
- 1 cup chopped mango
- 1 cup coconut water
- 2 Tbsp honey
- 2 cups chopped kiwi (about 4 kiwis, peeled)
- 1 cup coconut water
- 2 to 4 Tbsp sugar
- 2 cups blueberries
- 1 cup full-fat vanilla yogurt
- 2 Tbsp honey
Instructions
- Step 1: Choose your desired flavor combination from the ingredient list and add all corresponding ingredients into a blender. Blend until smooth, or blend less for popsicles with a chunkier fruit texture.
- Step 2: Pour the blended mixture into popsicle molds, insert sticks, and place them in the freezer. Freeze until completely hard, which usually takes at least 4 hours.
- Step 3: To unmold, run warm water over the outside of the molds for a few seconds to loosen the popsicles, then carefully remove them from the molds.
Tips & Variations
- For creamier popsicles, add yogurt or coconut milk to the fruit mixture before blending.
- Customize sweetness by adjusting honey or sugar amounts according to the ripeness of your fruit.
- Try mixing different fruits together for unique flavor combinations like strawberry-mango or blueberry-kiwi.
- If you prefer a smoother texture, strain the blended mixture before freezing to remove pulp or seeds.
Storage
Store popsicles in an airtight container or tightly covered popsicle molds in the freezer. They will keep well for up to 2 weeks. To enjoy, simply remove from the freezer and wait a few minutes at room temperature before eating for easier handling.
How to Serve
Serve this delicious recipe with your favorite sides.
FAQs
Can I use frozen fruit instead of fresh?
Yes, frozen fruit works well and can save time. Just thaw slightly before blending for easier processing.
How do I prevent popsicles from being too icy?
Adding natural sweeteners like honey or yogurt helps create a smoother texture by lowering the freezing point and reducing ice crystals.
PrintHomemade Fruit Popsicles Recipe
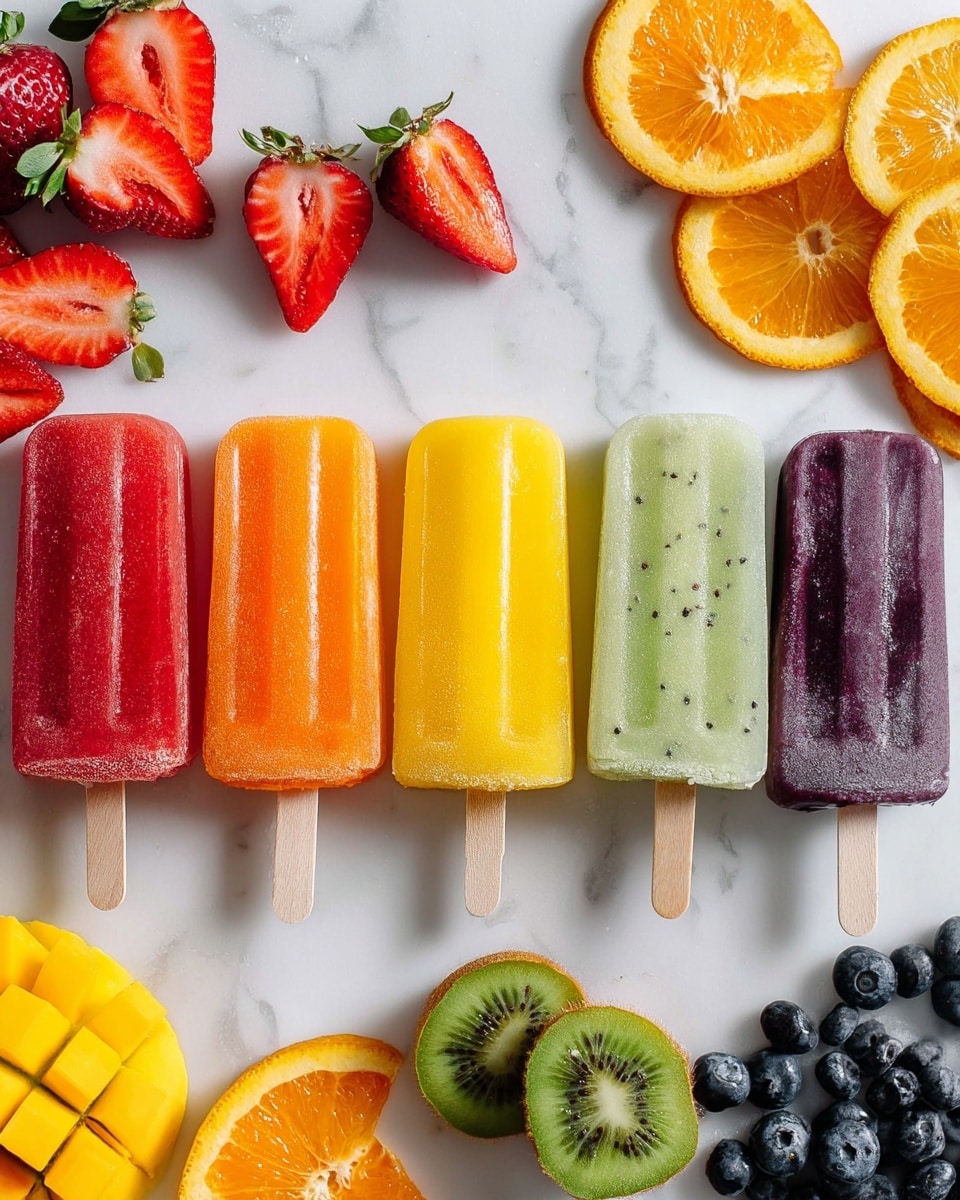
These homemade popsicles are a delicious and refreshing way to enjoy fresh fruit in frozen form. Made with a variety of fruit combinations and natural sweeteners like honey and sugar, they are perfect for a healthy summer treat. You can customize flavors easily using strawberries, oranges, carrots, pineapple, mango, kiwi, blueberries, and yogurt for a creamy twist.
- Prep Time: 10 minutes
- Cook Time: 0 minutes
- Total Time: 4 hours 10 minutes
- Yield: 8–10 popsicles depending on mold size 1x
- Category: Dessert
- Method: Blending
- Cuisine: American
- Diet: Vegetarian
Ingredients
Strawberry Coconut Popsicles
- 2 cups chopped strawberries
- 1 cup coconut water
- 2 Tbsp honey
Orange Carrot Popsicles
- 1 cup chopped orange flesh
- 1 cup chopped carrots
- 1 cup orange juice
- 2 Tbsp honey
Pineapple Mango Coconut Popsicles
- 1 cup chopped pineapple
- 1 cup chopped mango
- 1 cup coconut water
- 2 Tbsp honey
Kiwi Coconut Popsicles
- 2 cups chopped kiwi (about 4 kiwis, peeled)
- 1 cup coconut water
- 2 to 4 Tbsp sugar
Blueberry Yogurt Popsicles
- 2 cups blueberries
- 1 cup full-fat vanilla yogurt
- 2 Tbsp honey
Instructions
- Blend: Choose your desired flavor and add all ingredients to a blender. Blend until smooth. You can also choose to leave the mixture a little chunky if you want your popsicles to have a bit of fruit texture, enhancing the overall mouthfeel.
- Freeze: Pour the blended mixture into popsicle molds and insert popsicle sticks. Freeze the molds until the popsicles are completely hardened, which usually takes at least 4 hours.
- Unmold: To remove the popsicles from the molds easily, run the molds under warm water for a few seconds to loosen them. Then gently pull the popsicles out and enjoy your homemade frozen treat.
Notes
- You can mix and match fruit combinations depending on your preferences.
- Adjust the sweetness by varying the amount of honey or sugar.
- For creamier popsicles, add yogurt or coconut milk.
- Ensure the popsicle molds are properly sealed to avoid leaks in the freezer.
- Use ripe, fresh fruits for the best flavor and texture.
Keywords: homemade popsicles, fruit popsicles, healthy frozen treats, summer dessert, natural sweeteners

