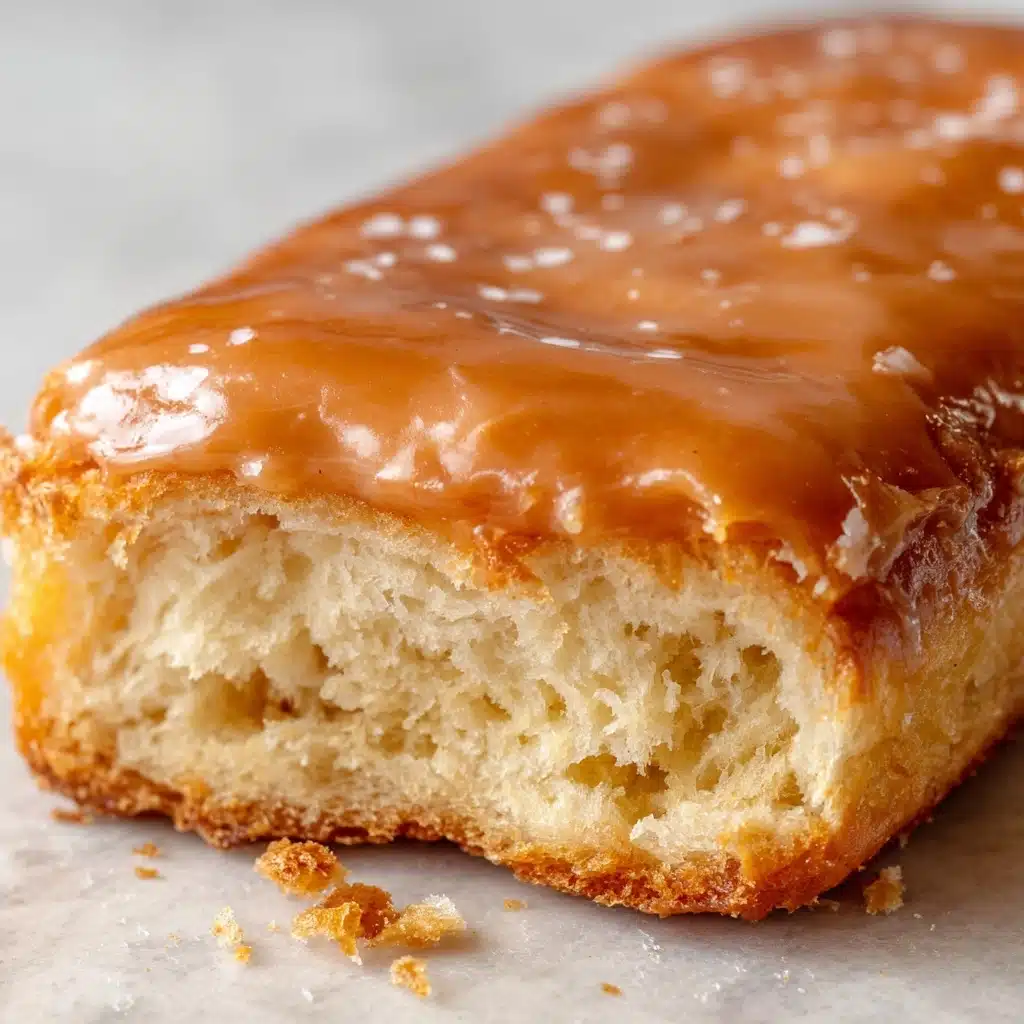
Maple Donut Bars From Scratch Recipe
If you’ve ever gazed longingly at those golden glazed maple bars at your favorite bakery, you are in for a treat: today, I’m sharing how to make Maple Donut Bars From Scratch. Imagine pillowy-soft yeasted dough, fried to golden perfection, and finished with a dreamy, glossy maple glaze that practically melts in your mouth. You don’t need a donut shop or fancy equipment—just a little time, some essential pantry staples, and a whole lot of maple-loving excitement. Once you taste these, you’ll never go back to store-bought!
Ingredients You’ll Need
Don’t be daunted by the ingredient list! Everything here brings something essential to the Maple Donut Bars From Scratch experience—whether it’s the richness of eggs, the fluffy rise from yeast, or that unmistakable maple flavor in the glaze. Let’s break down why each item is important:
- Warm water: Activates the yeast, which is essential for that airy, fluffy texture.
- Warm milk: Adds richness and softness to the dough, keeping it tender.
- Dry active yeast: The magical ingredient for dough that rises beautifully.
- Granulated sugar: Sweetens the dough and feeds the yeast for a good rise.
- Salt: Balances sweetness and enhances overall flavor.
- Large eggs: Provide richness, color, and structure to the donuts.
- Unsalted butter (for dough): Makes the dough soft, rich, and melt-in-your-mouth delicious.
- All-purpose flour: The backbone of the donut’s structure—be sure to measure carefully!
- Unsalted butter (for glaze): Forms the rich, glossy base of the sweet maple icing.
- Brown sugar: Brings a deep caramel note to the glaze, amplifying the maple flavor.
- Milk (for glaze): Creates the perfect consistency for dipping and glazing.
- Corn syrup: Gives the glaze a pro-level shine and helps it set beautifully on the donuts.
- Maple extract: The star of our glaze—go for real maple extract for the absolute best flavor.
- Powdered sugar: Ensures the glaze is smooth, creamy, and just the right level of sweet.
How to Make Maple Donut Bars From Scratch
Step 1: Froth the Yeast
Start by combining warm water, warm milk, a tablespoon of sugar, and active dry yeast in a large bowl. Whisk quickly to dissolve, then let it sit for about 10 minutes. The mixture should become foamy and bubbly on top—this tells you the yeast is alive and ready to make your dough extra-fluffy.
Step 2: Mix the Dough
In the bowl of a stand mixer, add your flour, salt, remaining sugar, eggs, and the frothy yeast mixture. With a dough hook attachment, mix everything until it starts to come together. Once you see shaggy clumps of dough, add softened unsalted butter and continue mixing for about 8 minutes. You’re looking for a smooth, elastic dough that pulls away from the bowl and doesn’t stick to your fingers.
Step 3: Let the Dough Rise
Transfer the dough to a greased bowl, cover with a towel or plastic wrap, and let it rise in a warm spot for about an hour. The dough should double in size and become puffy—this first rise is where the magic happens and brings the signature light texture to your Maple Donut Bars From Scratch.
Step 4: Punch Down and Let Rise Again
Once your dough has puffed up, gently punch it down to release extra air. Reshape it into a neat ball or disc, and let it rise a second time until doubled, about another hour. This step makes for extra tender donuts—the sort you find in the best bakeries.
Step 5: Roll and Cut the Donut Bars
Place the risen dough on a generously floured surface. Roll it out into a rectangle about 3/4 of an inch thick (aim for roughly 15 by 17 inches, but don’t stress perfection). Use a pizza cutter to slice the dough into 12 bar shapes. Lay these on a floured baking sheet and let them rise for another 30 minutes—this quick proof ensures those beautiful airy centers when you fry them.
Step 6: Fry the Donuts
Fill a heavy-bottomed pot with about 2 inches of vegetable or corn oil and heat it to 360–375°F. Fry the donut bars a few at a time, allowing each side to become golden brown—just a couple minutes per side is all you need. Drain them on a baking sheet lined with paper towels so they’re crispy outside, tender inside, and never greasy.
Step 7: Maple Glaze and Dip
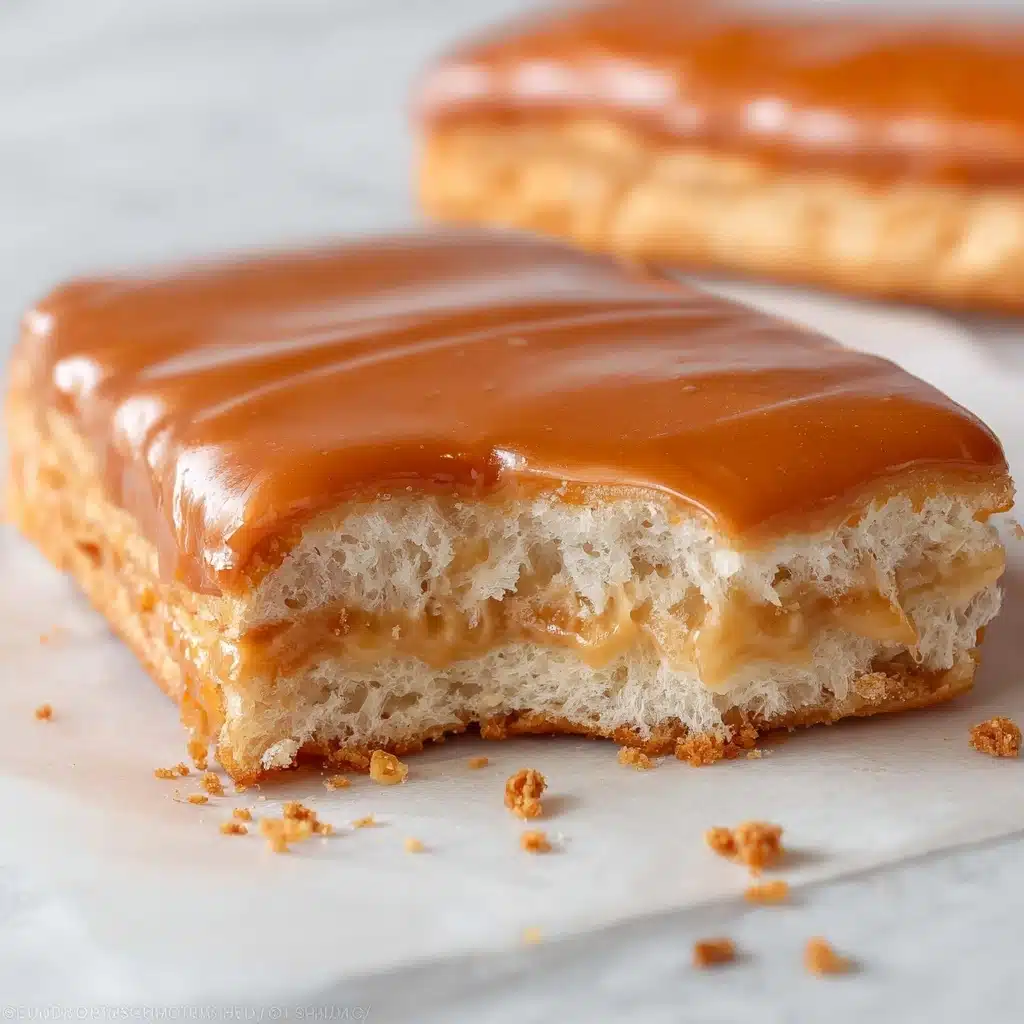
For that unbeatable finish, melt butter in a saucepan, then whisk in brown sugar, milk, and corn syrup. When it starts to gently bubble, turn off the heat, stir in the maple extract and powdered sugar, and mix until satiny smooth. Dip each cooled donut bar into your warm maple glaze. Set them on a cooling rack for a few minutes to let the glaze set, then dive in!
How to Serve Maple Donut Bars From Scratch
Garnishes
Get playful! While these bars are pure joy on their own, you can sprinkle chopped toasted pecans, mini chocolate chips, or a tiny pinch of flaky sea salt right after glazing to take things to the next level. Even a little dusting of edible glitter is a fun touch for a celebratory brunch.
Side Dishes
Serve your Maple Donut Bars From Scratch alongside a hearty breakfast spread: think crispy bacon or sausage, fresh fruit salad, or even just a big pot of strong coffee or chai. Their maple sweetness pairs beautifully with savory sides and seasonal fruit.
Creative Ways to Present
If you’re making these for brunch guests, try stacking the bars on a tiered cake stand or plate, interlaced with parchment squares for a bakery-style vibe. For a special occasion, wrap each bar in wax paper and tie with kitchen twine—a sweet party favor everyone will rave about!
Make Ahead and Storage
Storing Leftovers
Maple Donut Bars From Scratch are definitely best on the day they’re made, but if you have any left (lucky you!), store them in an airtight container at room temperature. They’ll stay soft a day or two, especially if you add a slice of sandwich bread to the container to help retain moisture.
Freezing
Want to get ahead? You can freeze the unglazed donut bars after frying and cooling completely. Layer them between sheets of parchment in a freezer-safe container and pop them in the freezer for up to 2 months. Thaw overnight, glaze fresh, and you’ll have bakery-quality donuts on demand!
Reheating
To enjoy Maple Donut Bars From Scratch warm the next day, gently microwave each bar for 10–15 seconds, or pop them in a low oven (300°F) for about 5 minutes. This refreshes their fluffiness and makes the glaze just a little oozy—almost like they were just made.
FAQs
Can I make the dough ahead of time?
Absolutely! Prepare the dough up through the second rise, then cover tightly and refrigerate overnight. Bring to room temperature, roll, cut, and proceed with the recipe the next morning for fresh donuts with little morning effort.
What oil is best for frying these Maple Donut Bars From Scratch?
Use a neutral-tasting oil with a high smoke point, like canola or vegetable oil. Avoid olive oil, as it can add unwanted flavor and may smoke at high temperatures.
Can I bake these instead of frying?
While frying is traditional and yields the fluffiest results, you can bake the cut bars at 375°F for about 12–15 minutes, until golden. Brush with a little melted butter before glazing for extra flavor, but note that the texture will be a bit breadier than classic fried donuts.
My glaze is too thick. What should I do?
If your maple glaze starts to set up too quickly or feels stiff, just whisk in a teaspoon of milk at a time until it becomes smooth and easily dippable again.
Can I use real maple syrup in the glaze?
You can replace a bit of the milk with real maple syrup for a deeper maple flavor, but keep the extract for that classic donut-shop punch. Real syrup alone is too thin for the glaze to set properly, so balance is key.
Final Thoughts
There’s just something magical about pulling off bakery-worthy Maple Donut Bars From Scratch right in your own kitchen. Don’t be surprised if friends and family start requesting them for every special breakfast, lazy Saturday, or celebration you host. Give these a try soon—the hardest part is waiting for them to cool before diving in!
PrintMaple Donut Bars From Scratch Recipe
Indulge in these decadent Maple Donut Bars made completely from scratch. These airy, light donuts are fried to perfection and coated in a rich, sweet maple glaze that will have you coming back for more.
- Prep Time: 30 minutes
- Cook Time: 30 minutes
- Total Time: 3 hours
- Yield: 12 donut bars 1x
- Category: Dessert
- Method: Frying
- Cuisine: American
- Diet: Vegetarian
Ingredients
For the donuts
- 1/2 cup warm water
- 3/4 cup warm milk
- 2 tsp dry active yeast
- 1/2 cup + 1 Tbsp granulated sugar
- 1/2 tsp salt
- 5 large eggs
- 1/2 cup unsalted butter
- 5 1/2 cups all-purpose flour
For the maple glaze
- 1/4 cup unsalted butter
- 1/2 cup brown sugar
- 3 TBSP milk
- 1 TBSP corn syrup
- 2 tsp maple extract
- 2 cups powdered sugar
Instructions
- Froth up the yeast – Combine warm water, warm milk, 1 tbsp sugar, and yeast. Let it sit until foamy.
- Combine everything in a stand mixer – Mix flour, salt, sugar, eggs, and yeast mixture. Add butter and mix until smooth.
- Let the dough rise – Allow the dough to double in size for about 1 hour.
- Punch and proof a second time – Reshape dough and let it rise again.
- Roll, cut, and proof the donuts again – Roll out dough, cut into bars, and let rise.
- Fry the donuts – Fry in oil until golden brown.
- Make the maple glaze and dip – Melt butter, add sugar, milk, corn syrup, maple extract, and powdered sugar. Dip cooled donuts in the glaze.
Notes
- Ensure the oil is at the right temperature for frying
- Allow the donuts to cool before glazing
- For a richer taste, use real maple extract
Nutrition
- Serving Size: 1 donut bar
- Calories: 320
- Sugar: 25g
- Sodium: 150mg
- Fat: 12g
- Saturated Fat: 7g
- Unsaturated Fat: 4g
- Trans Fat: 0g
- Carbohydrates: 50g
- Fiber: 1g
- Protein: 5g
- Cholesterol: 70mg
Keywords: Maple Donut Bars, Donuts, Maple Glaze, Homemade Donuts
