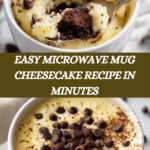
Microwave Mug Cheesecake for Cheesecake Lovers Recipe
Introduction
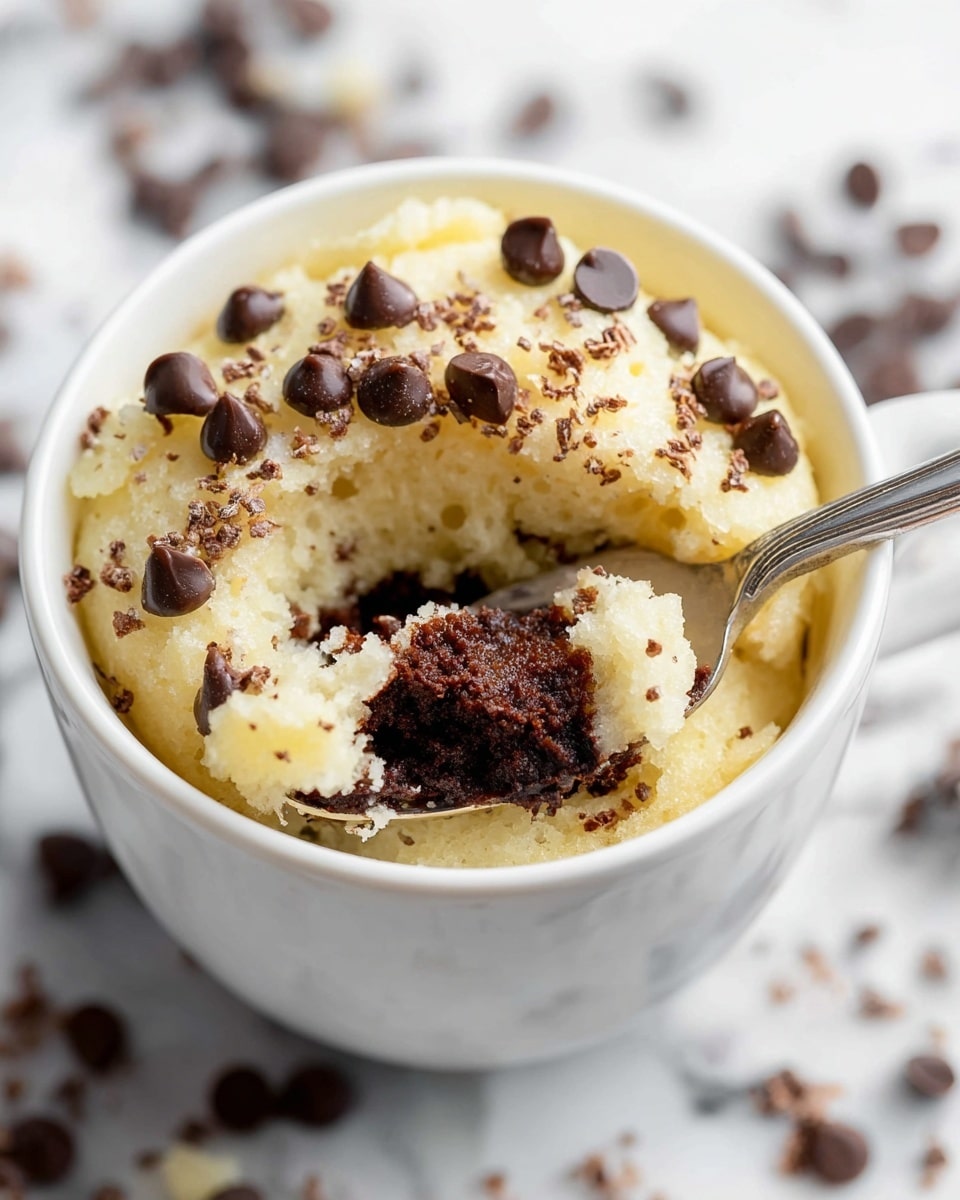
This delightful mug dessert is a quick and easy treat for cheesecake lovers craving something sweet without the wait. Ready in just minutes, it combines a graham cracker crust with a creamy cheesecake filling, all cooked right in your microwave. Perfect for a single serving indulgence anytime.
Ingredients
- 2 oz cream cheese, softened
- 2 tablespoons sugar
- 1 teaspoon vanilla extract
- 1 tablespoon sour cream
- 1 tablespoon all-purpose flour
- 2 tablespoons crushed graham crackers
- 1 tablespoon melted butter
- 1 tablespoon fresh fruit or chocolate chips for topping (optional)
Instructions
- Step 1: In a small bowl, combine the crushed graham crackers with melted butter until well mixed. Press this mixture firmly into the bottom of a microwave-safe mug to form the crust.
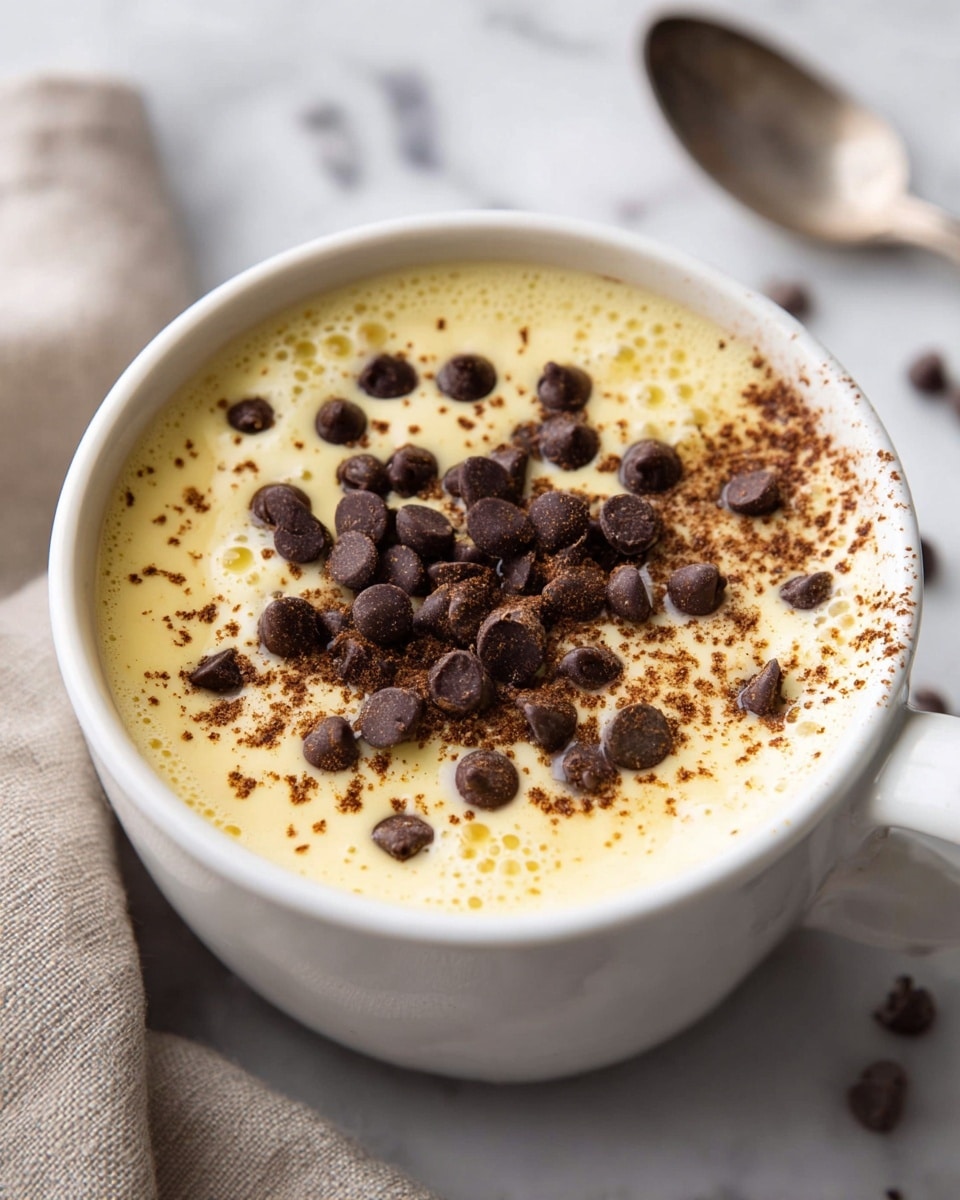
- Step 2: In another bowl, beat the softened cream cheese with sugar and vanilla extract until smooth and creamy. Add the sour cream and flour, then mix thoroughly until fully combined.
- Step 3: Pour the cheesecake filling over the graham cracker crust in the mug, smoothing the top with a spatula or the back of a spoon.
- Step 4: Microwave the mug on high for 30 to 40 seconds, or until the filling is just set but still slightly jiggly. Avoid overcooking to maintain creamy texture.
- Step 5: Let the mug cheesecake cool for a few minutes. Top with fresh fruit or chocolate chips if desired, then enjoy your warm, creamy dessert straight from the mug.
Tips & Variations
- For a richer flavor, use full-fat cream cheese and sour cream.
- Try swapping graham crackers for crushed digestive biscuits or cookies to change the crust flavor.
- Add a pinch of cinnamon or lemon zest to the filling for a subtle twist.
- Use berry preserves or caramel sauce as alternative toppings for extra indulgence.
Storage
This mug cheesecake is best enjoyed fresh, but you can store leftovers covered in the refrigerator for up to 24 hours. Reheat gently in 10-second intervals in the microwave, watching carefully to avoid overcooking. For an even quicker treat, enjoy it cold straight from the fridge.
How to Serve
Serve this delicious recipe with your favorite sides.
FAQs
Can I make this dessert without a microwave?
Yes, you can bake the mug dessert in a preheated oven at 325°F (160°C) for about 10 to 12 minutes. Keep an eye on it to ensure it doesn’t overbake.
What if I don’t have sour cream?
You can substitute sour cream with Greek yogurt or crème fraîche for a similar creamy texture and tangy flavor.
PrintMicrowave Mug Cheesecake for Cheesecake Lovers Recipe
This quick and easy mug cheesecake dessert is perfect for cheesecake lovers craving a rich and creamy treat without the hassle of baking. Made in just minutes using a microwave, it features a buttery graham cracker crust and a smooth cream cheese filling, topped optionally with fresh fruit or chocolate chips for added flavor.
- Prep Time: 5 minutes
- Cook Time: 1 minute
- Total Time: 6 minutes
- Yield: 1 serving 1x
- Category: Dessert
- Method: Microwaving
- Cuisine: American
Ingredients
Crust
- 2 tablespoons crushed graham crackers
- 1 tablespoon melted butter
Cheesecake Filling
- 2 oz cream cheese, softened
- 2 tablespoons sugar
- 1 teaspoon vanilla extract
- 1 tablespoon sour cream
- 1 tablespoon all-purpose flour
Topping (Optional)
- 1 tablespoon fresh fruit or chocolate chips
Instructions
- Prepare the Crust: In a small bowl, mix the crushed graham crackers with melted butter until fully combined. Press the mixture firmly into the bottom of a microwave-safe mug, forming an even crust layer.
- Make the Cheesecake Filling: In another bowl, beat the softened cream cheese together with sugar and vanilla extract until smooth and creamy. Then add sour cream and all-purpose flour, mixing thoroughly until well combined and free of lumps.
- Assemble: Pour the cheesecake filling over the prepared graham cracker crust in the mug. Smooth the top gently with a spatula or spoon to create an even surface.
- Microwave: Heat the mug in the microwave on high for 30 to 40 seconds, or until the cheesecake filling is just set but still slightly soft to the touch. Avoid overcooking as it can cause cracking or toughness.
- Cool and Serve: Let the mug cheesecake cool for a few minutes to allow it to firm up slightly. Optionally, top with fresh fruit or chocolate chips before enjoying warm or at room temperature.
Notes
- Use full-fat cream cheese for a rich, creamy texture.
- Microwave times may vary depending on wattage; start with 30 seconds and add more time if needed.
- Do not overcook the cheesecake to avoid dryness or cracking.
- Swap sour cream with Greek yogurt for a slightly tangier flavor.
- Use gluten-free graham crackers for a gluten-free version.
- Enjoy immediately for the best texture and flavor.
Keywords: mug cheesecake, quick dessert, microwave cheesecake, easy cheesecake recipe, single serving dessert, graham cracker crust