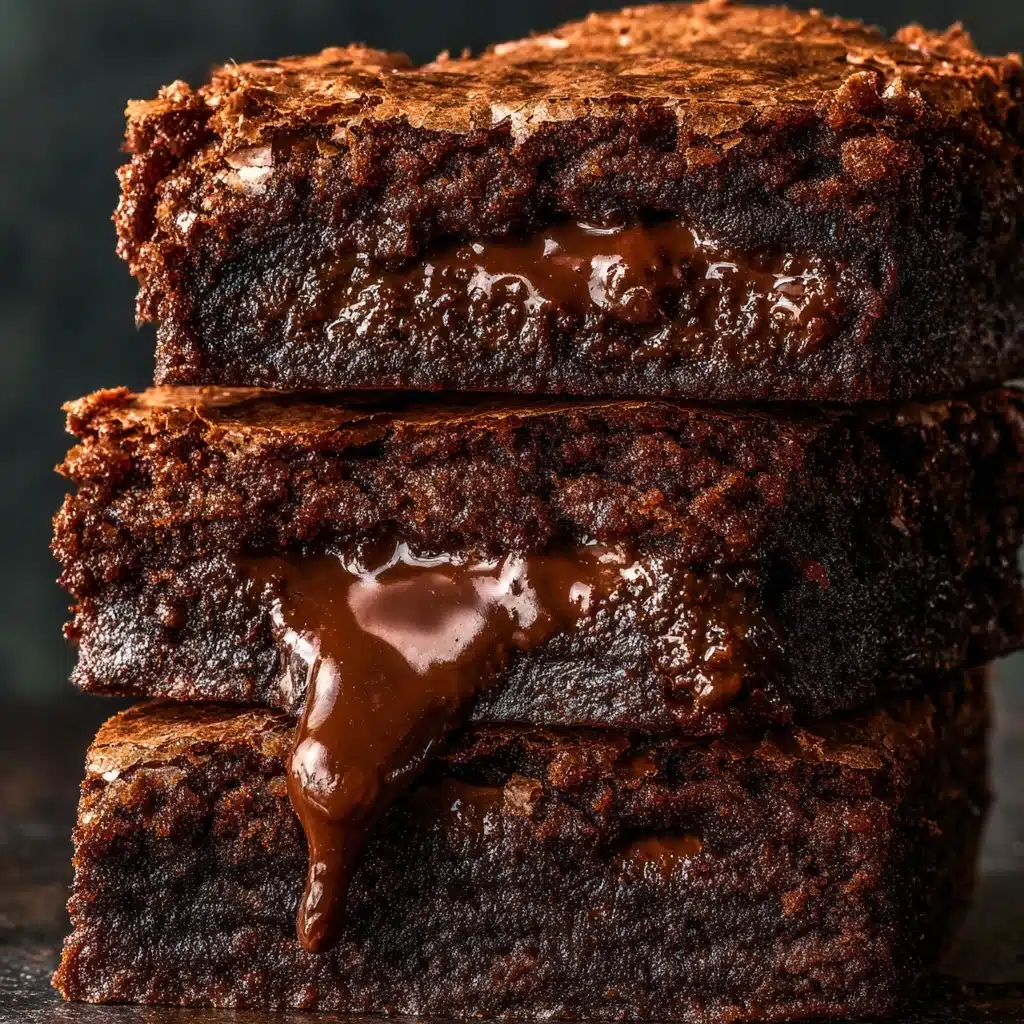
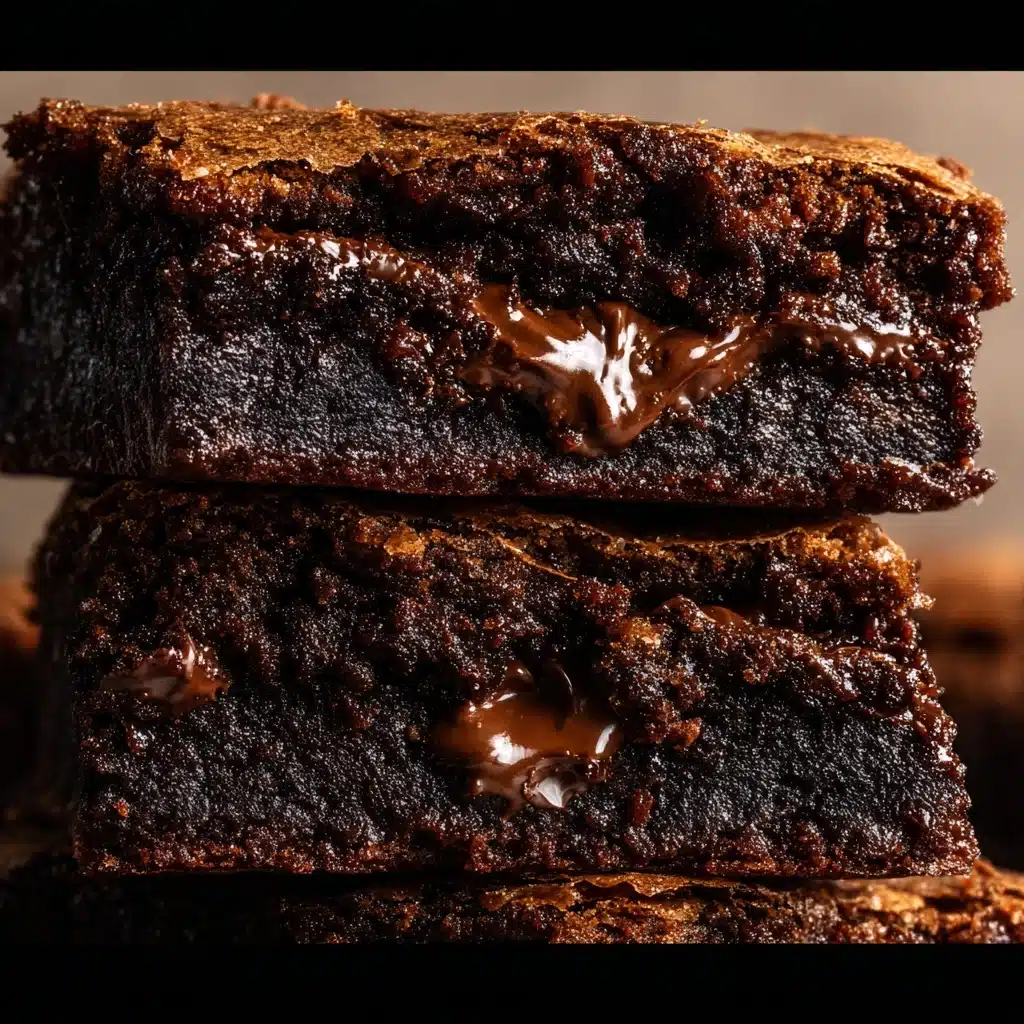
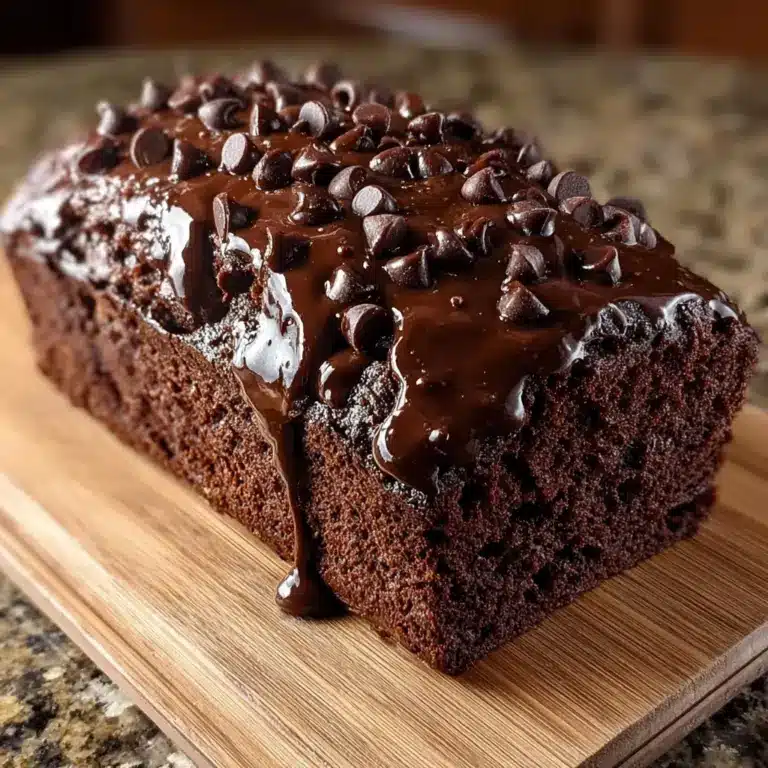
Chocolate Brownies
If ever there was a treat to rescue a rough week or to elevate an already joyous day, it’s Gordon Ramsay’s Chocolate Brownies. These glorious ownies Were the Pause I Needed This Week, a recipe that impresses every time with its deeply fudgy middle and crackly, chewy top. The blend of good chocolate, a honeyed touch of brown sugar, and a hint of salt feels just like a warm hug. Whether you serve them warm from the oven or sneak a chilled square with your afternoon coffee, these brownies promise comfort and pure chocolate bliss, making them an essential for anyone craving a moment of indulgent pause.
Ingredients You’ll Need
Each ingredient in this recipe is carefully chosen for maximum chocolate impact and the perfect texture. Don’t be tempted to swap or skip—every element plays a role in achieving the iconic taste and gooeyness that makes these ownies Were the Pause I Needed This Week unforgettable.
- Unsalted butter (200g): Go for the good stuff—the rich, creamy kind ensures a base that melts luxuriously with chocolate.
- Dark chocolate chips (200g): These are your foundation for deep flavor and that classic shiny crackle up top.
- Brown sugar (175g): Adds moisture and subtle caramel notes; packed light or dark, depending on preference.
- Eggs, lightly beaten (3): Bring the batter together and give it that coveted fudgy chew.
- Vanilla extract (1 tsp): Just a dash for warmth and complexity—don’t skip this beautiful balancing act.
- Plain flour (75g): Minimal flour keeps it dense, rich, and absolutely brownie-like.
- Cocoa powder (30g): For an extra punch of deep, dark chocolate flavor.
- Pinch of salt: The unsung hero that brings all the sweet and bitter notes into harmony.
- Dark chocolate bar, chopped (180g, optional): A final flourish—chunks create molten pockets and a dramatic presentation.
How to Make Chocolate Brownies
Step 1: Preheat and Prepare Your Tin
Start your brownie journey by preheating the oven to 180°C (350°F), or 160°C if using a fan. Line a 20cm square baking tin, letting the paper hang over the edges so you can lift the brownies out easily. This tiny step guarantees easy slicing and none of the heartache of stuck brownies later—trust me, you’ll thank yourself!
Step 2: Melt Butter and Chocolate Together
Place your butter and dark chocolate chips in a large, microwave-safe bowl. Gently microwave in 20-30 second bursts, stirring between each, until beautifully smooth and glossy. This is the step where the magic begins: creamy, molten chocolate gets your kitchen smelling like a dream.
Step 3: Add Brown Sugar and Vanilla
Stir the brown sugar and vanilla into the warm chocolate mixture. The sugar will partially dissolve and begin building that shiny, papery crust brownies are famous for, while the vanilla brings in a mellow richness that lingers with every bite.
Step 4: Incorporate the Eggs, One by One
With your mixture slightly cooled, whisk in the eggs one at a time, mixing gently after each addition. You’ll see your batter become glossy and silky smooth—this step is key to ensuring your ownies Were the Pause I Needed This Week bake up dense and fudgy rather than cakey.
Step 5: Fold in Flour, Cocoa, and Salt
Sift together the plain flour, cocoa powder, and that pinch of salt, then gently fold into the chocolate mixture. Stir only until just combined—overmixing is the enemy of fudgy perfection. This keeps the brownies tender and lush, with a deep cocoa flavor that’s ultra satisfying.
Step 6: Stir in Chopped Chocolate (Optional)
If you’re going for a truly decadent experience, now’s the time to gently fold in the chopped dark chocolate bar. These chunks melt into gooey pockets that make every slice extraordinary—a little extra pause for pleasure when you bite in.
Step 7: Bake to Your Texture Perfection
Pour the glorious batter into your lined tin and smooth the top. Bake according to your brownie craving: 24 minutes for super gooey centers, up to 32 for more cakey squares. When you see a shiny, crackled surface and the very center just set, you’ve nailed it.
Step 8: Cool (or Don’t!) and Slice
Let the brownies cool in the tin for 10 minutes, then use the paper to lift them out. For the neatest slices, wait another 20 minutes, but let’s be honest—I’ve been known to dive right in. Sometimes, savoring warm, slightly messy ownies Were the Pause I Needed This Week is just what your soul requires.
How to ServeChocolate Brownies
Garnishes
Sprinkle brownies with flaky sea salt, a dusting of powdered sugar, or a drizzle of warm chocolate sauce. Top with berries or a scoop of vanilla ice cream for a blend that takes these ownies Were the Pause I Needed This Week to a show-stopping dessert level. A few toasted nuts add crunch and an extra layer of flavor too.
Side Dishes
For ultimate comfort, serve with cold milk, strong coffee, or a cozy mug of hot chocolate. If you want to stretch things out for a brunch spread, these brownies nestle beautifully next to fresh fruit, whipped cream, or a sweet mascarpone dip. Every bite turns the moment into a mini celebration.
Creative Ways to Present
Turn your ownies Were the Pause I Needed This Week into brownie sundaes by layering them with ice cream and berries in glass jars. Stack cut brownies and tie with kitchen twine for edible gifts, or cut into fun shapes for a party platter. For special occasions, sandwich two squares with your favorite jam or peanut butter—you’ll wow everyone at the table, guaranteed.
Make Ahead and Storage
Storing Leftovers
Cut brownies keep best if you wrap them tightly or store in an airtight container at room temperature for up to 4 days. The flavors deepen and the texture stays moist and perfect—it’s almost as if ownies Were the Pause I Needed This Week get even better with time, should you manage to resist finishing the tray on day one.
Freezing
For longer storage, these brownies freeze like a dream. Once cooled, wrap squares individually in plastic wrap and pop them in a freezer bag. They’ll stay fresh for up to three months. Defrost overnight at room temperature, or microwave gently for instant gratification—your future self will adore you.
Reheating
If you crave that freshly-baked warmth, just microwave individual slices for 10–15 seconds. The chocolate will turn molten and the aroma will flood your kitchen all over again. Oven reheating works too; five minutes at 150°C (300°F) revives even the frostiest ownies Were the Pause I Needed This Week like they’re hot out of the tin.
FAQs
Can I use milk chocolate instead of dark chocolate?
You can swap in milk chocolate, but you’ll lose some of that deep, rich intensity that makes these brownies shine. For the most memorable ownies Were the Pause I Needed This Week experience, stick with dark chocolate or use a mix for balance.
What if I don’t have brown sugar?
Granulated sugar works in a pinch, but brown sugar gives that caramel undertone and gooey texture. If you want to mimic it, mix a tablespoon of molasses into regular sugar and you’re good to go.
How do I know when the brownies are done?
Check with a toothpick—it should come out with moist crumbs (not raw batter). Don’t overbake; a little wobble in the middle means they’ll be delightfully fudgy once cooled. The last thing you want is dry brownies when you could have ownies Were the Pause I Needed This Week soft and perfect!
Can I add nuts or other mix-ins?
Absolutely! Stir in toasted walnuts, pecans, or even a handful of your favorite dried fruits along with the chocolate chunks. This adds crunch and an extra level of heartiness, ensuring every batch feels tailor-made.
Why did my brownies sink in the middle?
This usually happens if the brownies are underbaked or if you beat too much air into the eggs and sugar. Next time, mix gently, and check your baking time a few minutes early. Slight sinking is normal for extra gooey ownies Were the Pause I Needed This Week and isn’t a fault—it’s a feature!
Final Thoughts
I hope you’re feeling inspired to whip up your ownies Were the Pause I Needed This Week—the kind of chocolatey treat that truly brightens any day. Every batch brings comfort, delight, and a temptation to pause just a little longer over dessert. Don’t forget to share the love (or the last square), and savor every crumb!
PrintChocolate Brownies
Indulge in Gordon Ramsay’s decadent Chocolate Brownies that are perfect for a sweet treat any day of the week. These brownies strike the right balance between gooey and fudgy, offering a rich chocolatey experience with every bite.
- Prep Time: 15 minutes
- Cook Time: 28 minutes
- Total Time: 43 minutes
- Yield: 12 brownies 1x
- Category: Dessert
- Method: Baking
- Cuisine: American
- Diet: Vegetarian
Ingredients
Brownie Batter:
- 200g unsalted butter
- 200g dark chocolate chips
- 175g brown sugar
- 3 eggs, lightly beaten
- 1 tsp vanilla extract
- 75g plain flour
- 30g cocoa powder
- Pinch of salt
Optional Topping:
- 180g dark chocolate bar, chopped
Instructions
- Preheat oven and prepare tin: Preheat the oven to 180°C / 350°F (160°C fan). Line a 20cm square tin with parchment paper.
- Melt butter and chocolate: In a microwave-safe bowl, melt the butter and chocolate chips until smooth.
- Combine sugar and vanilla: Stir in the brown sugar and vanilla extract, mixing well.
- Incorporate eggs: Add the lightly beaten eggs one at a time, stirring gently after each addition.
- Add dry ingredients: Fold in the flour, cocoa powder, and salt, stirring just until combined.
- Optional: If using, stir in the chopped dark chocolate.
- Bake: Pour the batter into the prepared tin. Bake for 24 minutes for a gooey texture, 28 minutes for a fudgy texture, or 32 minutes for a cakey texture.
- Cool and serve: Allow the brownies to cool in the tin for 10 minutes, then remove and cool for an additional 20 minutes. Alternatively, slice and enjoy warm.
Nutrition
- Serving Size: 1 brownie
- Calories: 320
- Sugar: 20g
- Sodium: 150mg
- Fat: 22g
- Saturated Fat: 12g
- Unsaturated Fat: 8g
- Trans Fat: 0g
- Carbohydrates: 30g
- Fiber: 2g
- Protein: 4g
- Cholesterol: 70mg
Keywords: Gordon Ramsay, Chocolate Brownies, Dessert Recipe, Sweet Treat, Gooey Brownies


