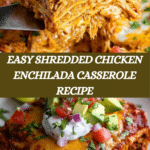
Shredded Chicken Enchilada Casserole Recipe
Introduction
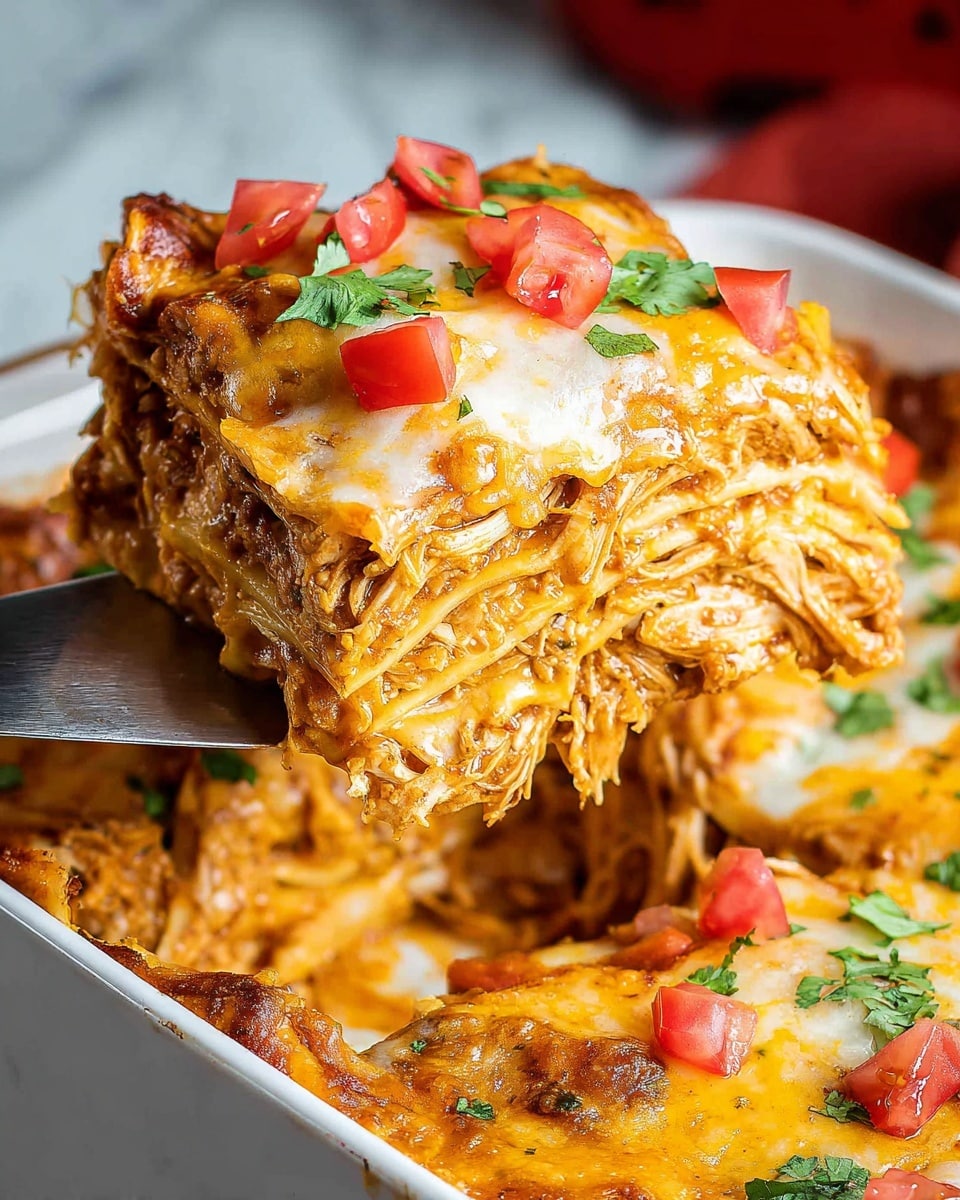
This Shredded Chicken Enchilada Casserole is a comforting and flavorful dish that’s perfect for weeknight dinners or family gatherings. Layers of tender chicken, savory vegetables, beans, and cheese come together in a zesty enchilada sauce for a satisfying meal that everyone will love.
Ingredients
- 2 cups cooked, shredded chicken
- 1 small onion, diced
- 1 red bell pepper, diced
- 2 cups enchilada sauce
- 1 teaspoon ground cumin
- 1 teaspoon chili powder
- 1 teaspoon garlic powder
- 8 corn tortillas, cut into strips
- 2 cups shredded cheese (cheddar or Mexican blend)
- 1 can (15 oz) black beans, drained and rinsed
- 1 can (15 oz) corn kernels, drained
- 2 tablespoons olive oil
- Salt and pepper to taste
- Fresh cilantro, chopped, for garnish
- Sour cream, for serving (optional)
- Lime wedges, for serving (optional)
Instructions
- Step 1: Preheat your oven to 375°F (190°C) and grease a 9×13 inch baking dish with a little olive oil.
- Step 2: In a large skillet, heat the olive oil over medium heat. Add the diced onion and red bell pepper, sautéing until soft, about 5 minutes.
- Step 3: Stir in the shredded chicken, enchilada sauce, cumin, chili powder, garlic powder, and a pinch of salt and pepper. Cook until heated through, about 3 minutes.
- Step 4: Spread a thin layer of the chicken mixture on the bottom of the greased baking dish.
- Step 5: Layer tortilla strips over the chicken mixture, then half of the black beans, half of the corn kernels, and half of the cheese.
- Step 6: Repeat the layers beginning with the chicken mixture, then tortilla strips, remaining beans, corn, and cheese. Finish with a layer of chicken mixture on top.
- Step 7: Cover the dish with aluminum foil and bake for 25 minutes in the preheated oven.
- Step 8: Remove the foil and bake an additional 10 minutes, or until the cheese is bubbly and lightly golden.
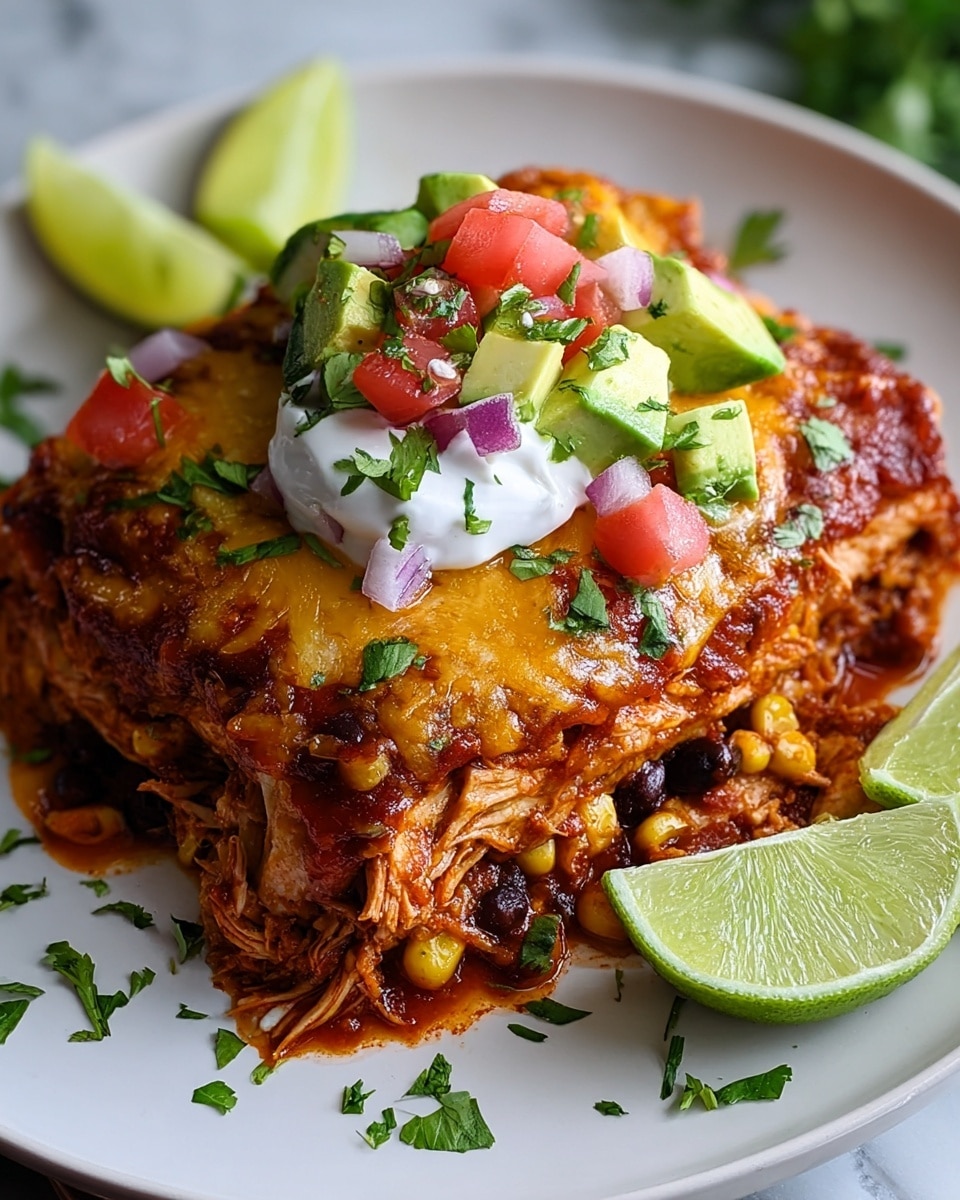
- Step 9: Let the casserole cool for a few minutes, then garnish with chopped cilantro.
- Step 10: Serve with sour cream and lime wedges on the side, if desired.
Tips & Variations
- For extra spice, add chopped jalapeños or a dash of hot sauce to the chicken mixture.
- Swap corn tortillas for flour tortillas if preferred; just make sure to cut them into strips similarly.
- Use leftover rotisserie chicken to save time and add flavor.
- Top the casserole with sliced avocado or a dollop of guacamole for a creamy twist.
Storage
Store leftover casserole in an airtight container in the refrigerator for up to 3 days. Reheat in the oven at 350°F (175°C) until warmed through, or microwave individual portions for 1–2 minutes. For longer storage, freeze the casserole for up to 2 months; thaw overnight in the fridge before reheating.
How to Serve
Serve this delicious recipe with your favorite sides.
FAQs
Can I make this casserole vegetarian?
Yes, simply omit the chicken and add extra beans, corn, or sautéed vegetables like zucchini and mushrooms to keep it hearty and delicious.
Can I prepare this recipe ahead of time?
Absolutely. Assemble the casserole a few hours ahead or the night before, cover tightly, and refrigerate. Bake just before serving, adding extra baking time if starting cold from the fridge.
PrintShredded Chicken Enchilada Casserole Recipe

This Shredded Chicken Enchilada Casserole is a comforting and flavorful baked dish that layers tender shredded chicken, sautéed vegetables, black beans, corn, and melty cheese over crispy corn tortillas, all smothered in zesty enchilada sauce. Perfect for a family dinner, it combines classic Mexican flavors with simple, wholesome ingredients for a satisfying meal.
- Prep Time: 15 minutes
- Cook Time: 35 minutes
- Total Time: 50 minutes
- Yield: 6 servings 1x
- Category: Main Course
- Method: Baking
- Cuisine: Mexican
- Diet: Halal
Ingredients
Chicken Mixture
- 2 cups cooked, shredded chicken
- 1 small onion, diced
- 1 red bell pepper, diced
- 2 cups enchilada sauce
- 1 teaspoon ground cumin
- 1 teaspoon chili powder
- 1 teaspoon garlic powder
- Salt and pepper to taste
- 2 tablespoons olive oil
Other Ingredients
- 8 corn tortillas, cut into strips
- 1 can (15 oz) black beans, drained and rinsed
- 1 can (15 oz) corn kernels, drained
- 2 cups shredded cheese (cheddar or Mexican blend)
- Fresh cilantro, chopped, for garnish
- Sour cream, for serving (optional)
- Lime wedges, for serving (optional)
Instructions
- Preheat Oven: Preheat your oven to 375°F (190°C). Grease a 9×13 inch baking dish with a little olive oil to prevent sticking.
- Sauté Vegetables: In a large skillet, heat the olive oil over medium heat. Add the diced onion and red bell pepper and sauté until soft and translucent, approximately 5 minutes, enhancing their natural sweetness and flavor.
- Combine Chicken Mixture: Stir in the shredded chicken, enchilada sauce, ground cumin, chili powder, garlic powder, salt, and pepper into the skillet. Cook the mixture for about 3 minutes until heated through and well combined, allowing the spices to infuse the chicken.
- Layer Ingredients: In the prepared baking dish, spread a thin layer of the chicken mixture on the bottom. Then create the first layer of tortilla strips, followed by half of the black beans, half of the corn kernels, and half of the shredded cheese.
- Repeat Layers: Repeat the layering process starting with the chicken mixture, then tortilla strips, the remaining beans, corn, and cheese. Finish by spreading a final layer of chicken mixture on top to seal in all the flavors.
- Bake Covered: Cover the baking dish with aluminum foil to retain moisture and bake in the preheated oven for 25 minutes.
- Bake Uncovered: Remove the foil and bake for an additional 10 minutes, allowing the cheese to become bubbly and lightly golden brown for a deliciously crispy top.
- Cool and Garnish: Let the casserole cool for a few minutes after baking. Garnish with freshly chopped cilantro for a fresh pop of color and flavor.
- Serve: Serve warm with optional sour cream and lime wedges on the side to add creaminess and a tangy zest to each bite.
Notes
- You can substitute the shredded chicken with rotisserie chicken for convenience.
- Use gluten-free corn tortillas to make this casserole gluten-free.
- For added heat, add chopped jalapeños or a dash of hot sauce to the chicken mixture.
- Leftover casserole can be stored in an airtight container in the fridge for up to 3 days.
- To reheat, cover with foil and warm in the oven at 350°F (175°C) until heated through.
Keywords: shredded chicken, enchilada casserole, baked enchiladas, Mexican casserole, chicken enchiladas, easy dinner, comfort food

